
Step-by-Step Guide: How to Create a DIY Photo Zone
1. Choose a Theme
- Consider your child’s favorite cartoons, games, or characters.
- Examples: Minecraft, Paw Patrol, Barbie, Mickey Mouse, Dinosaurs, Disney Princesses.
2. Select a Color Palette
- Pick 2–3 main colors that match the theme.
- For Minecraft: green, black, brown. For Barbie: pink, white, gold.
3. Prepare the Decor
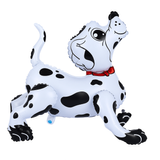
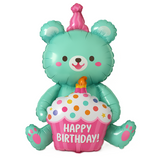
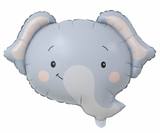
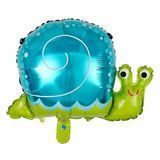
- Foil balloons — shaped like characters, numbers, stars.
- Latex balloons — for arches, clouds, or walls.
- Garlands, banners, fabrics — for the backdrop.
- Ready-made kits — quick solutions for setup.
4. Purchase Supplies
- Order decor in advance.
- Choose high-quality balloons with long-lasting effect.
- Make sure you have a pump or compressor.
5. Inflate the Balloons
- Latex balloons — use air or helium.
- Foil balloons — helium works best for floating.
- Use ribbons, glue dots, or frames for structure.
6. Set Up the Photo Zone
- Pick a well-lit area.
- Install the backdrop (fabric or banner).
- Build an arch or balloon composition.
- Add themed elements: numbers, names, characters.